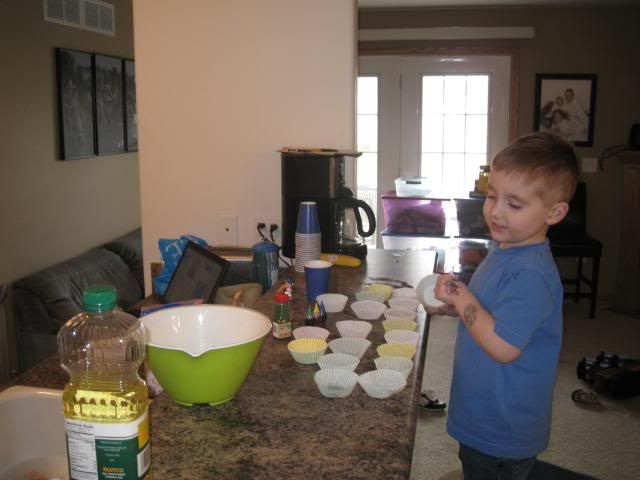
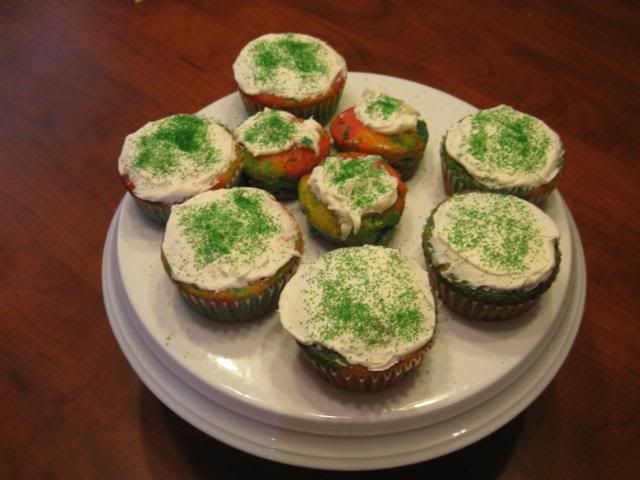
The boys and I made rainbow cupcakes yesterday for St Patrick's Day. It was a great way to practice colors with Thomas. We went over which colors when put together make other colors. The recipe was super easy to do. You just make your cake mix as usual. Then you separate it out into 6 equal parts. You add food coloring to each bowl to make the six colors of the rainbow. Then you layer them with a spoon or teaspoon into your cupcake pans in the order of a rainbow. When you pull the cupcake liners off it looks like a rainbow down the side of the cupcake. Bite into them and they look even cooler!!! For extra flair we decorated the top of them with green sprinkles for St. Patrick's Day. Thomas helped me with everything and even Ollie helped in the kitchen. He had his own bowl and spoon he played with in the kitchen.
Here Thomas was practicing lining up the cup cake liners. I will have to remember how much fun it was for him to do this. He kept counting them over and over as he re-stacked them each time.
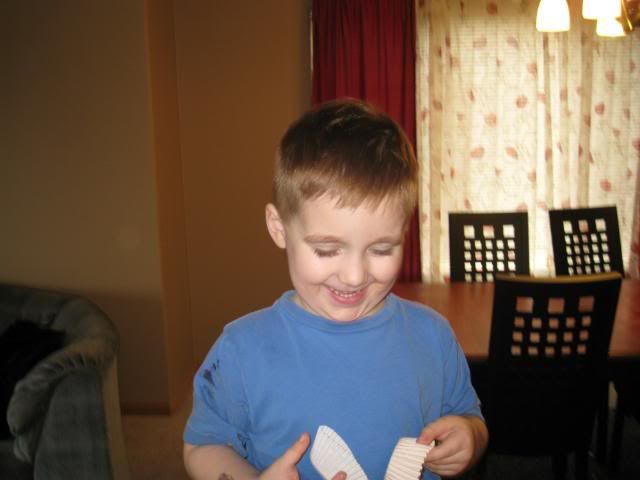
He thought the liners were just hilarious. We normally don't make a lot of cupcakes so these are cool to him. I like that it is less mess, he likes that they, "are like blocks but make crinkly noises." Go figure.
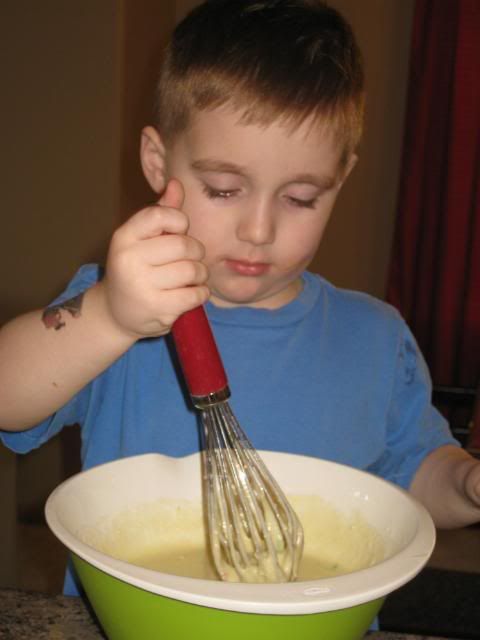
Thomas loves to help stir the cake mix. He kept asking me what things he can do. I don't let him crack the eggs but boy would he love it if I did. He had fun using the whisk to mix the ingredients together.
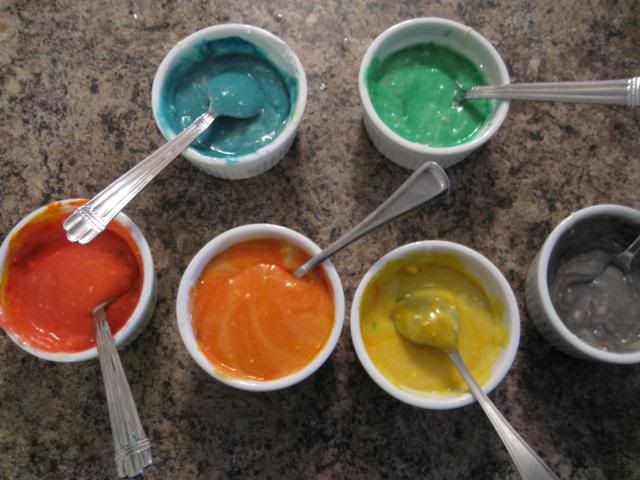
Here the batter has been divided up into ceramic dishes. It took a little bit of trial and error to get the dye colors right but the turned out perfectly with a little extra hard work.
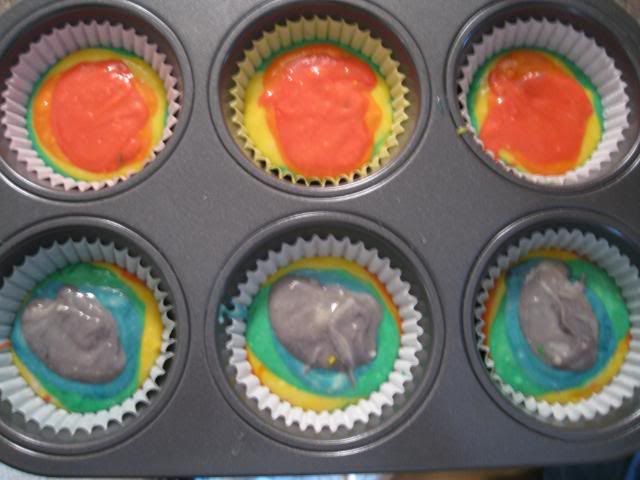
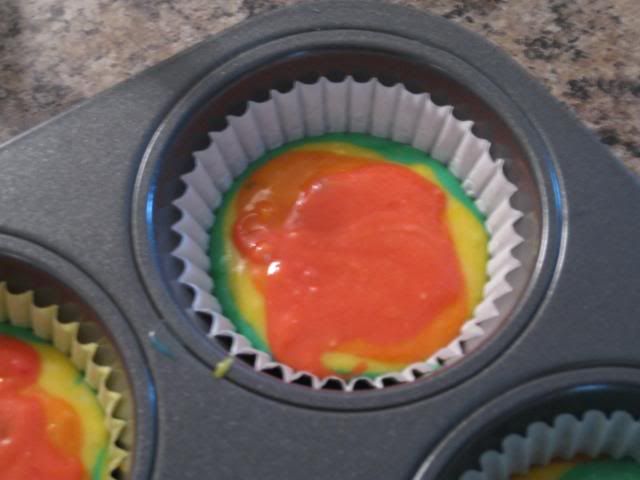
Here is the batter all layered in the liners. Just remember if you try this yourself to allow for a little room from the top since the batter will expand. A little batter goes a long ways.
Here you can just about see all the colors. The trick I think is using just a dab less on each layer if you want it to bake just right.
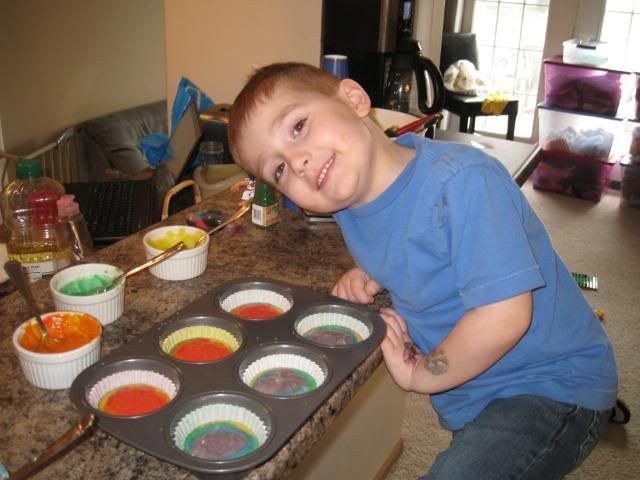
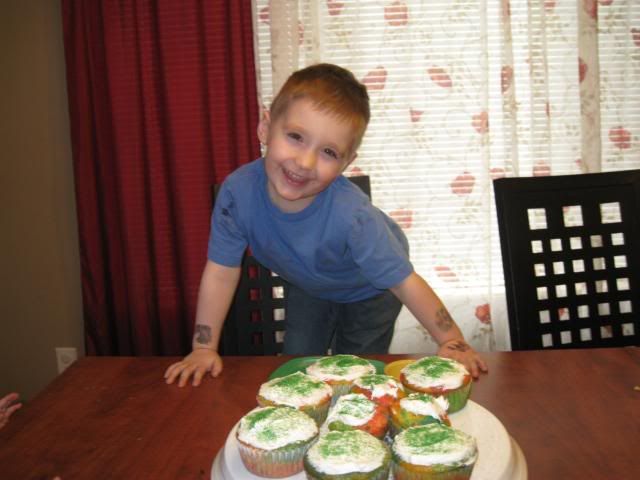
Showing off the cupcakes before going in the oven. He was very proud of our hard work in the kitchen. Both the boys kept wanting to watch through the glass window in the oven.
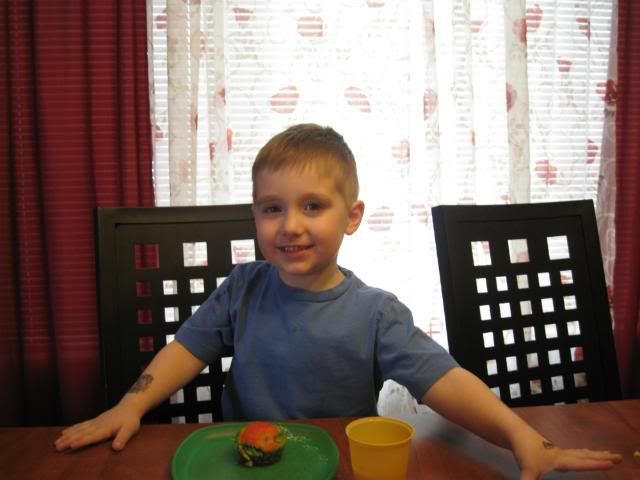
Ta da!!! They are done!!! He begged me to let him eat one right away. How could I say no?
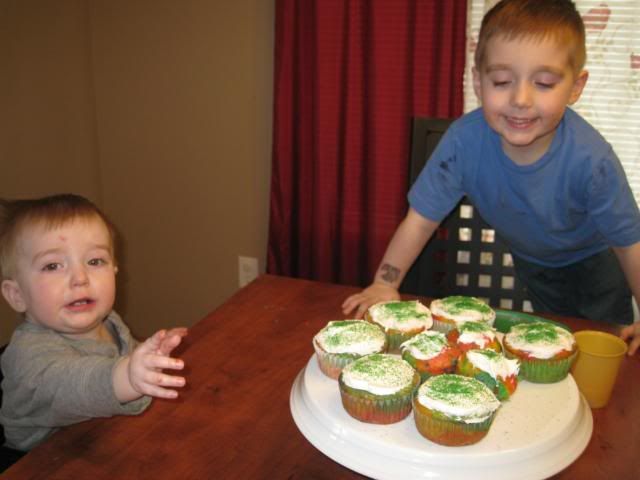
Unfortunately one meant TWO. I made him wait to frost the cupcakes before eating any. Oliver was getting pretty testy with me--he wanted those cupcakes right then and there!
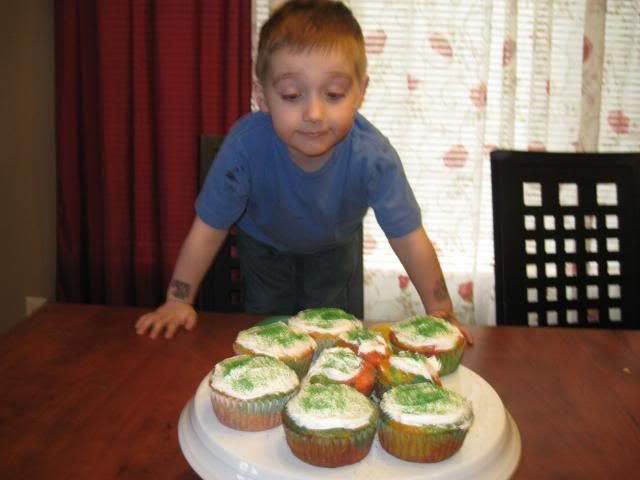
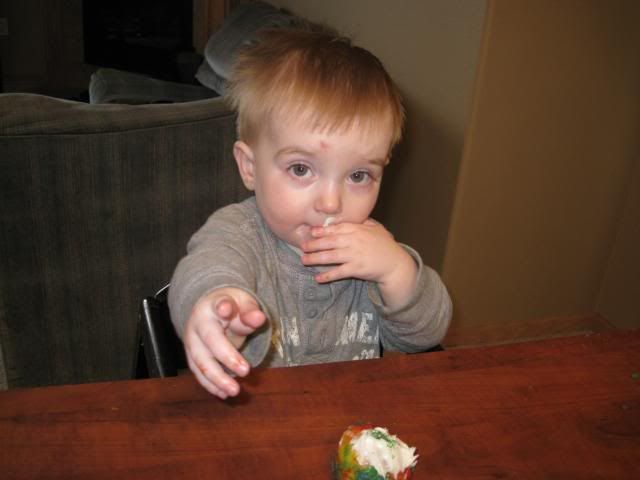
Thomas couldn't decide which one he wanted. This picture just cracks me up. You can just tell how excited he is to get his hands on that cupcake!
Silly boy!
Better take one last picture before they are all gone!
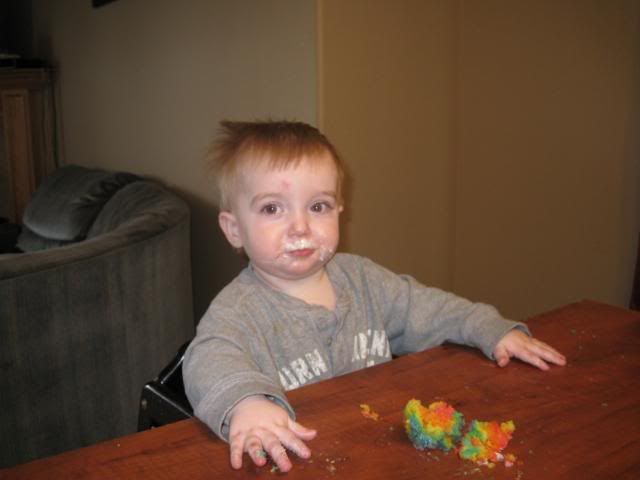
The destruction of the first cupcake! Youngest always come first!
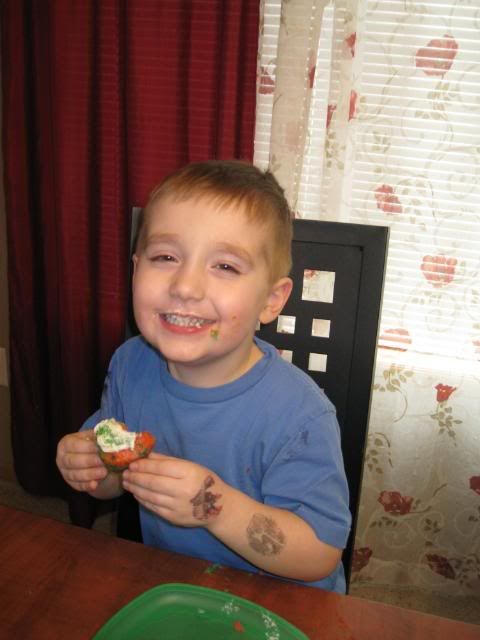
At last....cupcakes for all!
The aftermath photo. They both ended up with frosting all over their face. However Oliver also had a little sugar rush. He loves his sugar. Don't tell our dentist! :-)
Jessica...what a cute idea! Looks like y'all had fun!
ReplyDelete